
Before you can start using Reqme to manage client requests, you’ll need to create an account and complete the onboarding process. This guide walks you through each step of setting up your Reqme workspace.
Creating Your Account #
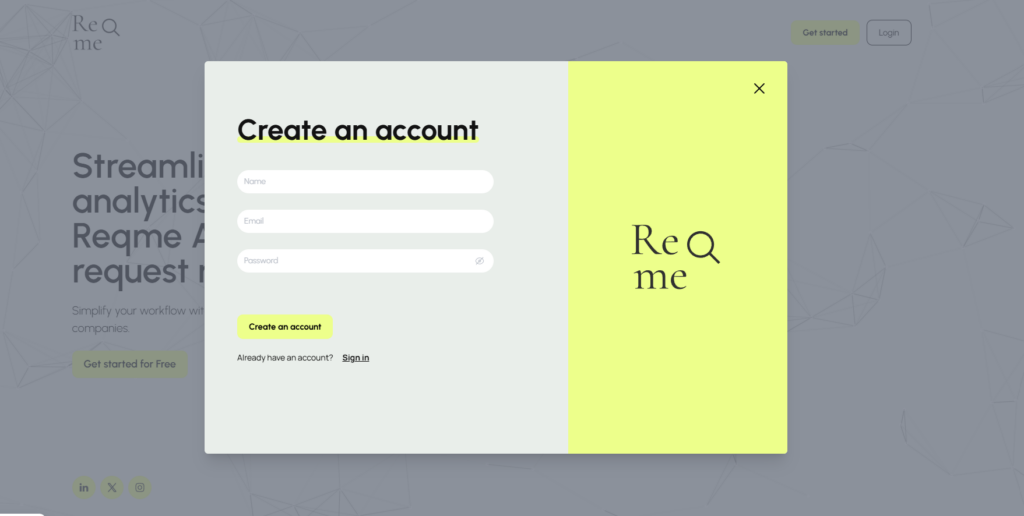
Step 1: Registration #
- Visit https://reqme.co and click on the “Get started” button
- In the registration form, enter your:
- Name
- Email address
- Password
- Click the “Create an account” button
Step 2: Email Verification #
- Check your email inbox for a verification message from Reqme
- Enter the secure code to verify your email address
- After successful verification, you’ll be redirected to the onboarding process
Step 3: Login #
If you get logged out during the process:
- Enter your email and password on the login screen
- Click “Log In” to access your Reqme account
Completing the Onboarding Process #
The onboarding process consists of several key steps to set up your workspace properly.
Step 1: Basic Information #
- Enter your business name
- Add your phone number
- Enter your company name
- Input your website URL
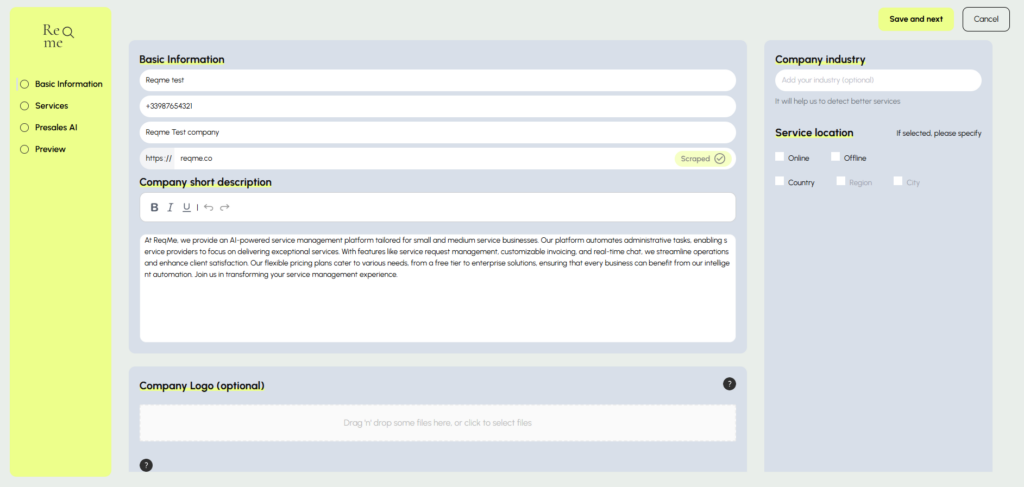
- Write a company short description which will be visible for users
- Optionally upload your company logo (drag and drop or click to select files)
- Click “Save and next” to continue
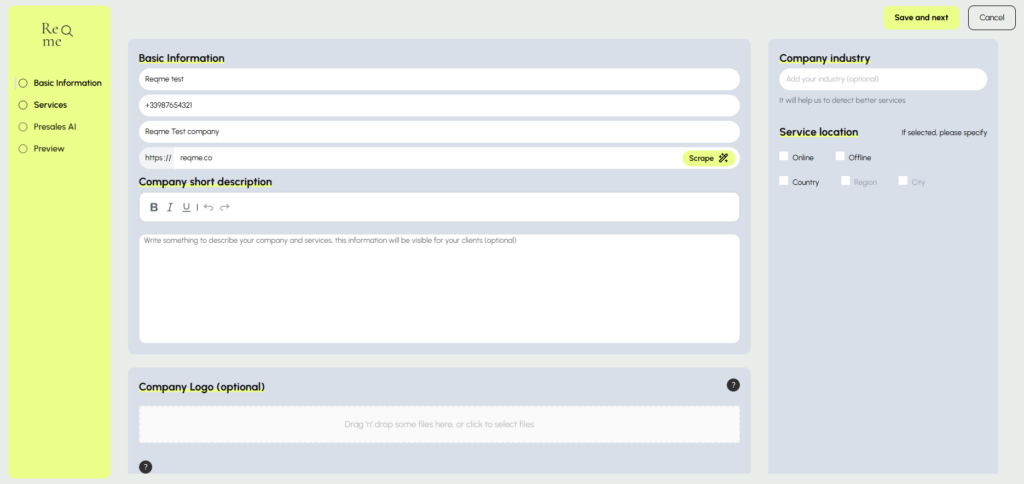
Step 2: Company Industry and Location #
On the right side of the same screen:
- Add your industry (optional) – this helps Reqme detect better services for your business
- Specify your service location by selecting the appropriate options:
- Online
- Offline
- Country
- Region
- City
- Click “Save and next” to proceed
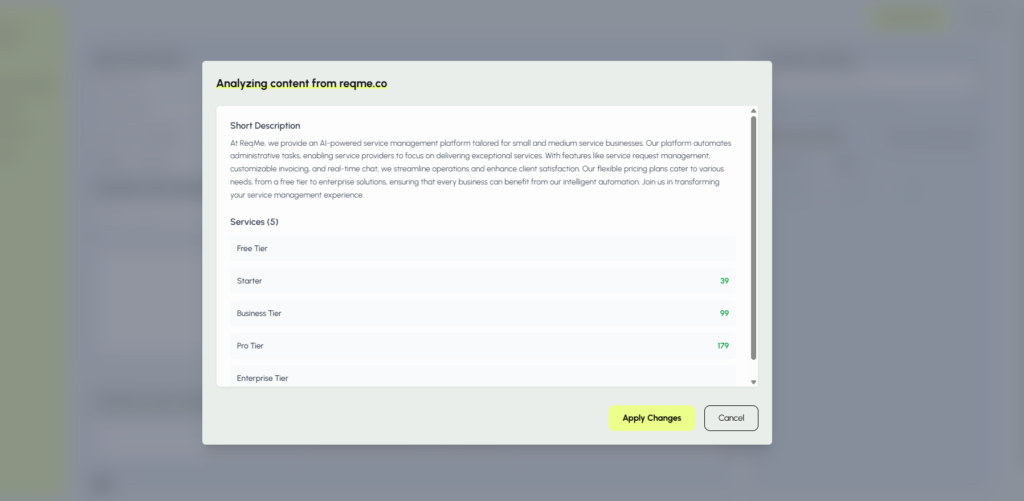
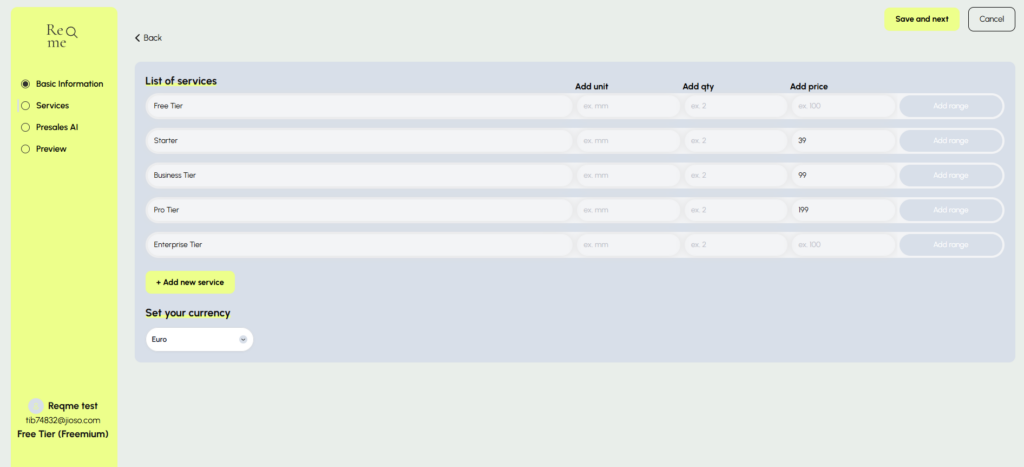
Step 3: Services Configuration #
- If you used the “Scrape” button in the Basic Information step, AI will attempt to auto-fill your services based on your website
- Review the suggested services and pricing
- You’ll be able to configure service tiers with appropriate pricing for your business
- Confirm the services or adjust as needed
- Click “Apply Changes” to save your services configuration
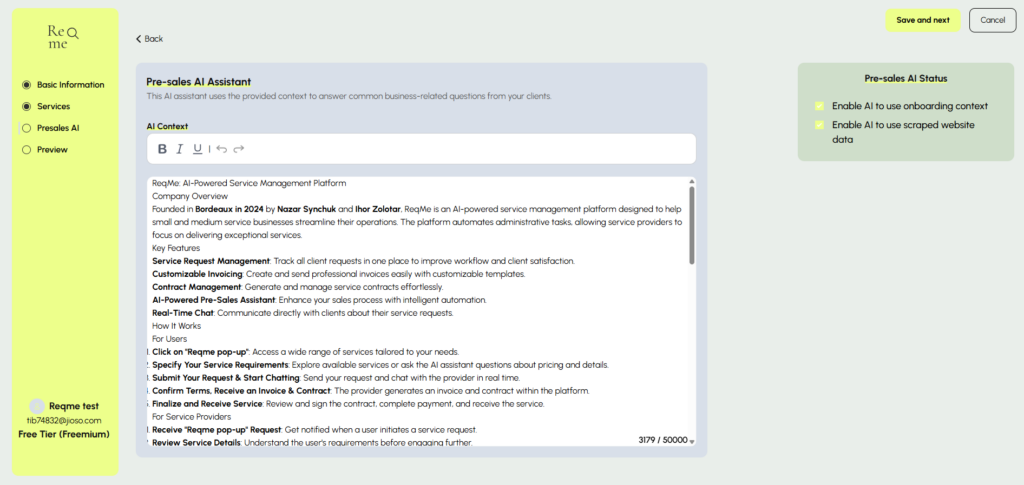
Step 4: Configure Pre-sales AI Assistant #
- Review the AI context that was generated based on your business information
- The AI assistant will be pre-configured with information from your business details
- You can enable the AI to:
- Use onboarding context
- Use scraped website data
- Click “Save and next” to complete this step
What’s Next? #
After completing the onboarding process, you’ll have access to your Reqme dashboard where you can:
- Manage client requests
- Configure additional settings
- Set up the WordPress plugin (if applicable)
- Use Public Links or QR Code to shre your service page
If you encounter any issues during setup, please contact our support team at support@reqme.co.


